Tuesday, May 31, 2016

Technology Tuesday: Decade Research and 3D Coins

You know those crazy ideas that come to you in the middle of the night?  The ones that wake you up and then you can't go back to sleep because you are thinking about them?  Well, that is how this research product came about and boy was it fun.  I have just recently received a 3D printer and have been trying to figure out meaningful ways to use it with classrooms.  I woke up in the middle of the night one night after talking with a 5th grade teacher about the decade research made into an iMovie product that we have done for the last few years.  I also had 3D printing on my mind and I guess the two things just blended together and "Voila" the Decade Commemorative Coin was born.

The next day, I talked with the 5th grade teacher and explained my idea.  Students would do a decade "exploration" where they listed important events, people, inventions, famous firsts, ect from the decade and then choose one of those things to research more in depth and create an image on the top of a "coin" to represent the decade. Now this is the teacher that I have written about before (see this post).  She is slowly becoming more comfortable with technology, but I knew as long as we were in it together she would be on board.  I told her about the tinkercad website and that it was easy to use, but that I really had no idea what the students would come up with or be able to design (just keepin' it real).  Well, we were totally surprised by the creativity and outcome the students produced!

We spent one day doing the decade exploration using books that I borrowed from the middle schools. The next two days, the students chose their specific idea they would research more thoroughly using books, Britannica online and other websites that I had listed on my library webpage.

Then the fun part... I pulled them all together on the 4th day and briefly explained how tinkercad worked.  We were using chromebooks, so the students were able to loging to tinkercad with their google account.  I gave them the specifications of how big and think t make the coin and showed them how to group object and layer them on top of the coin. I also had them name their designs with their first name and the object and make it public so that I could find them and then print when they were finished.  We talked about the different shapes they could use and how they design couldn't be too detailed because of the small space we were working with.  

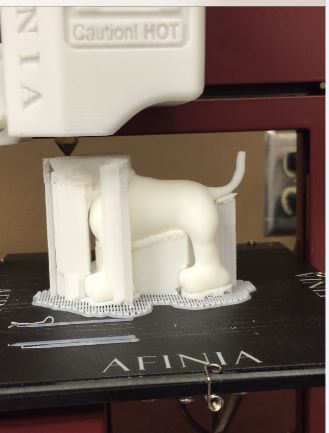
Then they set to work... As with any project, some students grasped using tinkercad right away and some needed a little more assistance but over all we were super pleased with their finished coins.  I was shocked at how detailed some of the students were able to get their coins and the things they figured out without me telling them. 


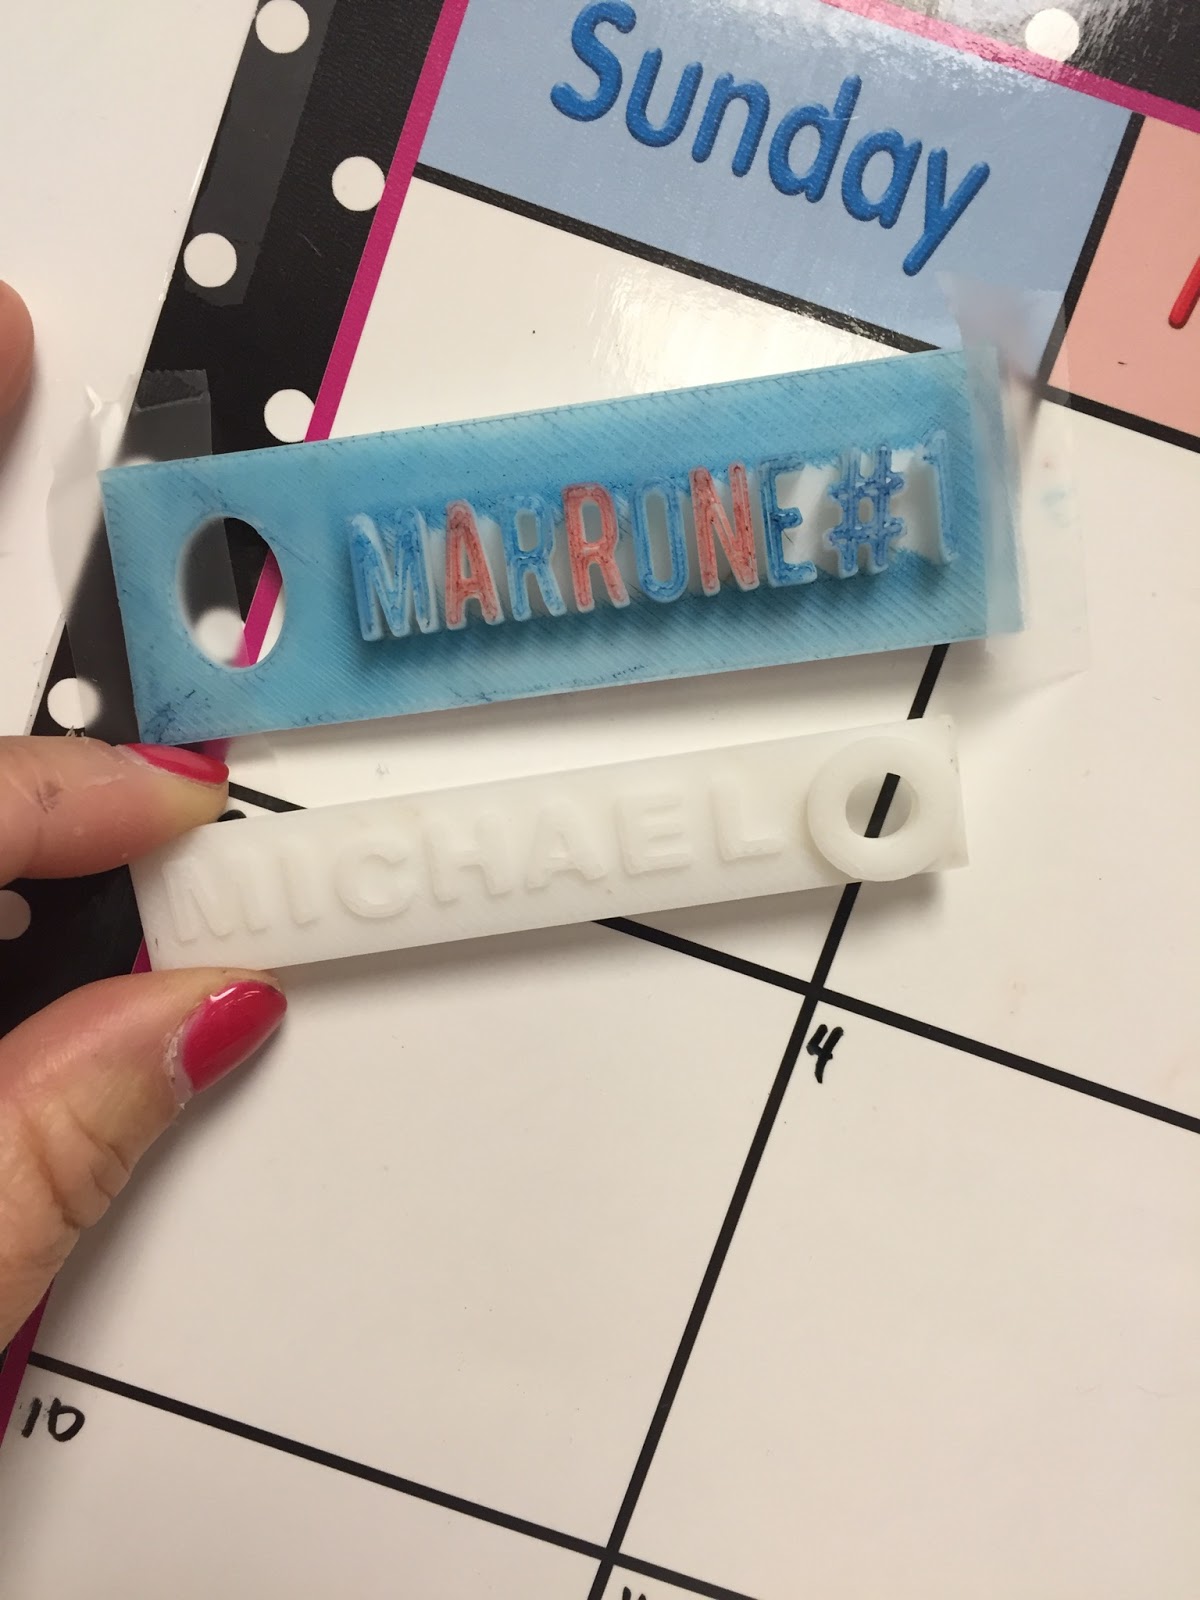
My filament is white, so I knew we were going to want to color them somehow.  We tested a few things and found that colored pencils worked best until I accidently ordered a different filament when I was getting low and then Sharpies worked better (see this post about things I learned).


Each coin took about an hour to print so as I finished a couple, I would take them down to the class where they waited anxiously to see if it was theirs'.  They colored the coin and wrote a little bit about the event pictured.


After printing the first couple, I realized that I was going to have to go in to each design and make sure they had layered properly and there were not spaces between the layers, layers coming through the bottom of the coin, or that the layers were not too tall.  That part was a little time consuming, but well worth it to the see the results.

Friday, May 20, 2016

5 Things I learned from Kinder Makerspace


Kinder had their first experience in the makerspace this week... or let me rephrase I had my first experience with kinder in the makerspace this week! ;) I had one kinder class in each day to make a pompom launcher in the makerspace.  I really had no idea how this would work so here are 5 things I learned...

1.  Kinder kids LOVE glue!

2.  Kinder kids have great ideas! Yank the red pipe cleaner, the cup moves and the pompom comes out.


3.  Kinder kids can make things better!  She started with the pompom on the end of the straw, but it kept falling off before she could blow.  She looked in the bucket and found the lid to spices that had holes in it. The straw went through the hole and the pompom sat in the lid.  


4.  Kinder kids can think simple... or complex.


5.  EVERY kid can be a maker!


And one last thing... God Bless Kinder teachers!  I don't think I could do it every day!


Monday, May 16, 2016

A Real Word 3D Print: Part 1

In the fall, our director offered to buy any library that wanted one a 3D printer.  Many of the elementary librarians asked for one. I did not.  Like with the makerspace, it was not something that I could wrap my head around using at the elementary level.  One of my librarian friends and I pinky-swore that we were going to hold out and not get one... until she did - uggg!  I didn't want to be the only one left not doing it, so I also asked for one and very quickly received the Afinia 3D printer in January.

You can read about my process of familiarizing myself and a few students with it here.  When I first got the printer I asked my Twitter PLN what people had done with printers at the elementary level and while some replied back with printing pieces of games and math manipulatives, one reply caught my attention.  Anna Crosland (@crosland_a), the teacher-librarian at Georges-Vanier Library in British Columbia, replied back with this blog post about a project they had done making braille classroom labels for their school to help a blind student find the right areas of the school.  I loved that this was a real world printing problem.

About the same time that this happened, our science lab assistant was moving her husband to the Crisis Cole Rehabilitation Center for the Blind in Austin, Tx.  He had suddenly lost his sight in both eyes last year from Retinopathy.  They had tried a few procedures to correct it, but nothing worked.  He was going to be spending from Jan-May in Austin learning skills to help him cope, become independent and employable.  I was so touched by how optimistic and encouraging our science assistant, Michelle was about the situation.  It was not easy, but she would never let Ivan, her husband, give up.  

The week of Valentine's, Michelle came to me and my assistant and asked us to help her make a Valentine card in Braille for Ivan.  He was learning Braille and she wanted to make him a card.  I googled the Braille alphabet and my assistant set to work trying hot glue and regular glue drops to see which might set better.  Michelle made the card and Ivan was so happy her could read it!

That got me thinking about Anna Crosland's project again and how I had been practicing using the 3D printer by making keychains.  I decided that I was going to make Michelle a key chain that said "Stay Strong" and I was going to make Ivan one that said the same thing in BRAILLE!  

Well, Michelle's keychain was easy.  The Braille on the other hand... I again googled and found specifications for the braille alphabet.  Each dot has to be a certain distance from the other dots. 
So I set out to create a Braille cell in tinkercad and then once I felt like I had the measurements correct, I copied and pasted the full cell for each letter I needed on the key chain and removed the dots I didn't need.  

 
I gave them to Michelle and told her that I hoped that Ivan's said "Stay Strong" but I really had no idea.  She laughed and said that she wouldn't tell him and she would make him read it.  She texted me this that weekend.

When she came back to school on Monday, she was so excited and said that Ivan had loved it and she wished we could make them for all the residents at the center.  I just laughed.  When I told my director about the keychain, she also said that I should have students make them for all the residents and again I laughed.  It was very tedious getting the braille cell spacing correct and I didn't know how I would do it with kids.  My director kept bugging me about it - ok, not really "bugging", but she kept bringing it up.  I told her fine, I would do it, but I needed our technology person to come out and figure out the logistics with me.

She came out on a Monday, we sat and figured it out for about 3 hours and I started the project with some 5th graders on Tuesday.  

To Be Continued

Thursday, May 12, 2016

3D Printing Adventures

I received a 3D printer from our district in February.  Many of the librarians in my district received one in the fall, but like the makerspaces, I didn't really understand how I could use it in an Elementary School.  I knew that I didn't want to just be printing off pieces for toys or games that kids found on Thingiverse. If I was going to print things, I wanted them to be authentic and kid created. I have spent this spring learning how to use it myself and trying out different things.

Once I received the printer, an Afinia H480, I got to work learning how to use it.  
It was pretty easy to set up and the first thing I printed was a frog bookmark that I downloaded from Thingiverse.  
Not bad for a first print, but what I hadn't done was put down the BuildTak covering on the plate.  So when I removed the frog, he lost a few pieces :(

Then I used a key chain print from thingiverse and changed it to my name.  
That one worked better and since we have white filament, I was able to use sharpie markers to color it.  

I then wanted to show it to the kids in my coding club, so I created an I LOVE CODING bookmark on Tinkercad that printed while we had coding club.  
The kids were fascinated by the printer.  I showed them the frog bookmark and keychain I printed and I showed them Tinkercad and how I made the bookmark and that was all some of them need to start creating on their own.  Two kids came back the next day asking me to print keychains that they had designed.  

Then our Library Systems Coordinator said, "Ok, now print something that is not flat!"  So I searched Thingiverse for something and found a PawPatrol figure for my nephew.  It was super cool to see how the printer built little support stands for his head, belly and tail and then when it was done printing those pieces just came off really easily.  


Then one of my coding club kids came back and asked me to print a mug that he made for his mom for mother's day.  He built it from scratch using the cylinder and rectangle shapes in Tinkercad.  Not exactly what we expected...


A little small, but we learned about scale and he actually got a kick out it.  I was TOTALLY impressed though!

One of the most functional things that I have printed are spirographs!  Yes, spirographs!  At my fall book fair, I bought 3 sets for the makerspace, but then had second thoughts when I was going to put them out because there were only 3.  Then I thought, "Wait a minute!  I have a 3D printer!"  Sure enough, there are lots of spirographs on Thingiverse.  I found this one and printed out 6 more sets!

They work great and the kids thought it was so neat that I made them on the printer.  

While, I was not completely on board with 3D printing at the beginning, I am glad that I did get one and look forward to using it more with the students next year.  


Monday, May 2, 2016

A Writer I am Not

I do not think of myself as a writer.  Writing this blog is a huge step out of my comfort zone every, single time.  My dad and my brother seem to have taken all of that talent for our family.  They both just have a way with words.  They just flow so effortlessly and elegantly from their minds.  Even when being humorous or sarcastic their way with words just make you want to read more.  

Sometimes when I am reading books, I get lost in the writing.  That happened to me when I read All the Bright Places by Jennifer Niven.  I am an elementary librarian and this is definitely a YA title but it is just so beautifully written and the story is so amazing, I had to tell you about it. 
In this story, Violet and Finch meet on the roof of the school.  Finch is fascinated with death and Violet is trying to escape - her town, her grief over her sister's death, everything.  Through a school project, they become friends and begin to bloom each in their own way.  But is it enough for Finch?  

I couldn't stop thinking about this book after I read it.  The writing is just beautiful, the language just makes you want to read more and more. It was like I knew Violet and Finch and expected them to be around the corner.  Jennifer Nivens has a winner here!